Managing Hard Drive Partitions
There are numerous third-party software managers for Microsoft Windows partitions. You don’t need any of them. Use Disk Management wizard for managing hard drive partitions in Windows 10. Create, resize, format, and delete partitions and volumes, and changing drive letters.
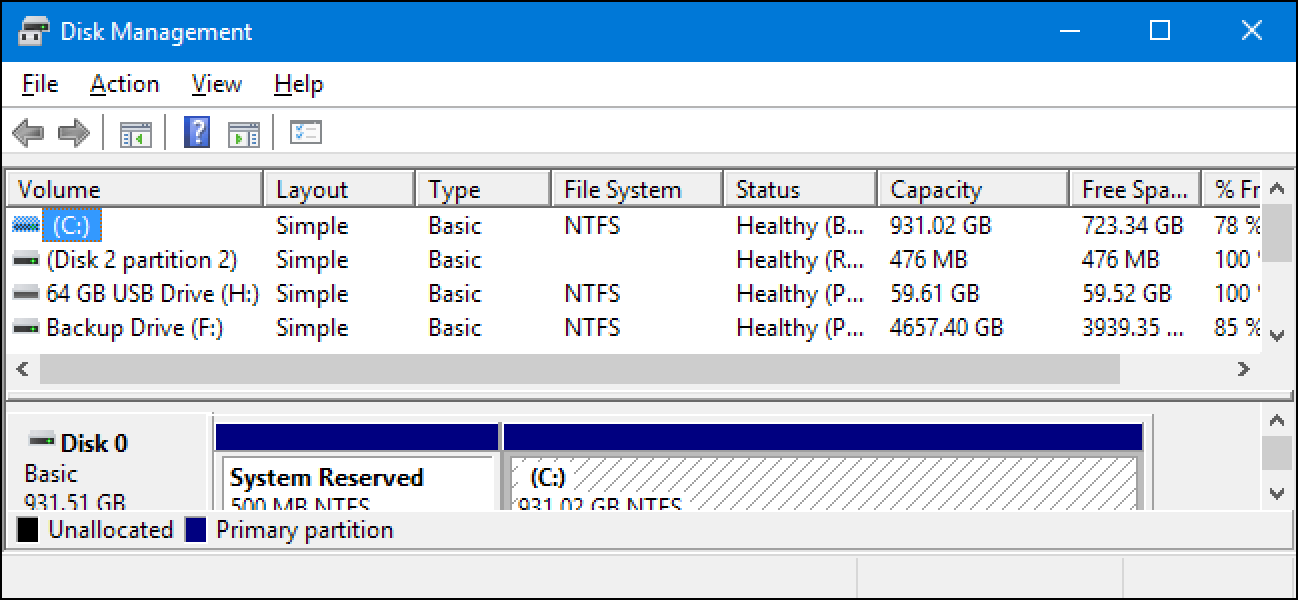
Disk Management Tool Access
First, access the Disk Management wizard by selecting Start and entering “partition”. In the options list, select “Create and format hard disk partitions”.
The windowpane for Disk Management is in two parts. Next, check the list of your computer’s volumes at the top. The graphical picture of the disks and volumes is on the bottom. Finally, decide how you want to change the layout.
Resize a Volume
In some cases, you may find it necessary to resize a volume. Perhaps, you have one large volume that you’ve decided to divide into two.
Shrink a Volume
In either window pane, right-click and choose Shrink Volume. Enough space is available to shrink a volume. For example, the single volume containing 1 TB with nothing stored upon it, can be shrunk by almost the entire 1 TB.
So, enter the amount you want to be shrunk in the only option available. The current volume’s new size after shrinking is also shown in the window. The new volume is now shown on the left side, with the amount of freed unallocated space shown on the right side.
Extend a Volume
A computer’s volume must contain unallocated space located to the right.
To open the Extend Volume Wizard, right-click the current volume and select Extend Volume. Then choose Next. Choose the highlighted disk from Select Disks. Also, pick the volume size and largest available space. After you choose to Select the amount of space in MB hit Next > Finish.
Create a New Volume
Create a volume if you have unallocated space located on your hard disk. Begin by right-clicking on the pane with the unallocated space. Secondly, hit New Simple Volume to open the New Simple Volume Wizard and hit Next. Specify the volume size, you wish to create, hit Next. Accept the default drive letter in the box, or assign one and hit Next. Format partition before using the volume. Lastly, choose a file system and assign a volume letter, and hit Next > Finish.
Delete a Volume
Want to recover space on your hard drive? You may need to delete an existing volume. This space will then return to the unallocated pool. Keep in mind, you will erase all data in the volume when you delete the volume. In either pane of the Disk Management tool window, right-click and hit Delete Volume. A warning window pops up where you must hit Yes to continue.
Managing hard drive partitions and volumes with the Disk Management tool in Windows is simple.
One thought on “Managing Hard Drive Partitions with Windows 10”